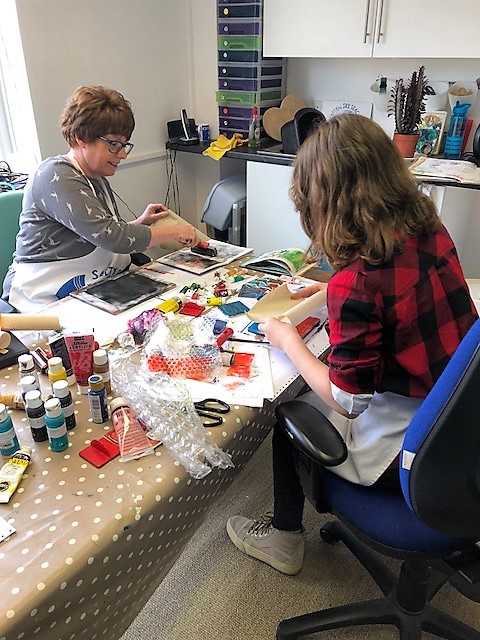
In preparation for our up and coming Creative collage course (starting in September) we’ve been playing with some ideas in the studio and finding different techniques for decorating our collection of scrap papers which we use to create our own original art work.
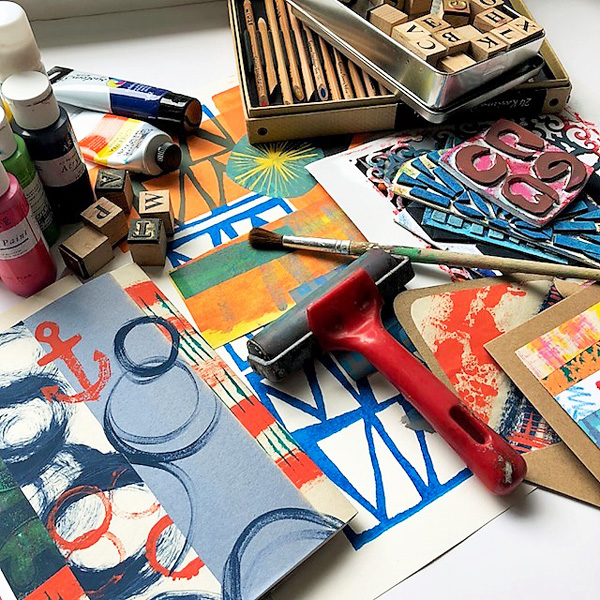
Its nice to get all the different paints, inks, crayons etc out and get messy, leave the small paintbrushes in their pot and just use what ever you can find to hand for mark making– rollers, sponges, chunky brushes etc, as well as all our hand printing equipment such as Geli plates, stencils and foam blocks.
The wonderful thing about doing collage is that anything goes. You really can just empty the waist paper bin and use what you find, although this time we have been sticking to using our stash of scrap papers, collected for projects like this.We start off just by simple mark making techniques, everything from cross hatching with crayons to doodling with a felt tip pen, then move on to a chunky brush and some sploging and stippling, using lots of bright acrylic paint. We tend to prefer using acrylics because once they are dry they don’t smudge so you can work on top of them or smear PVA glue over them (especially good if your collaging on to something 3D)
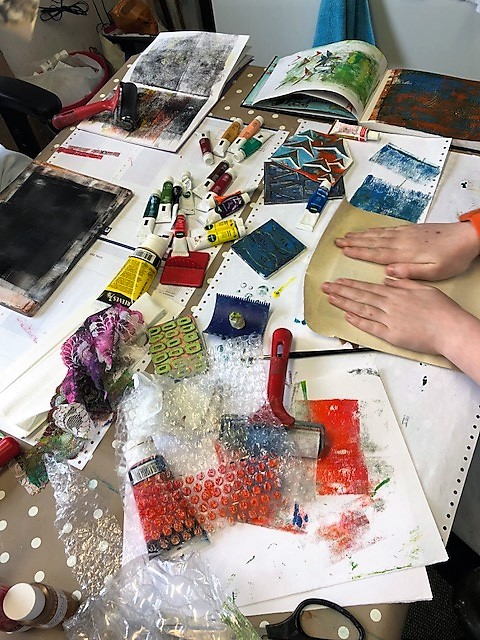
Then we move on to the Geli plates, using acrylic paint still, roller the paint over the plate and press what ever you can find on to it- pieces of lace, stencils, the end of a loo roll and various foam blocks we’ve previously made for block printing, then choose your paper and smooth it on to the plate and pull off a print. Some of the papers are torn out of old books so the prints you get are mixed in with the text, its best to use quite light weight paper as they tend to be nicer for collage so don’t go for heavy weight cartridge or water colour, just cheap sugar papers work really well!Sometimes we just pull off prints with nothing pressed into them as they will be useful for block printing on to, or sometimes you just need plain coloured paper but with an interesting texture.
You can easily while away several hours printing off your papers- it’s fairly addictive as you never really know what effect’s you are going to get.
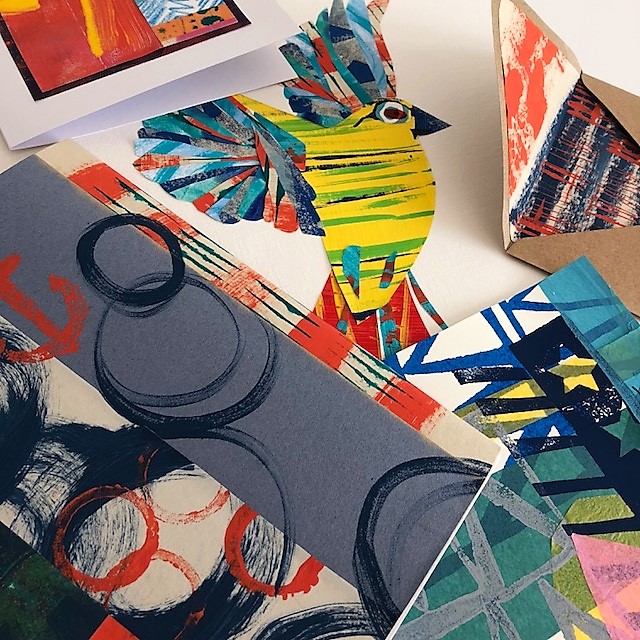
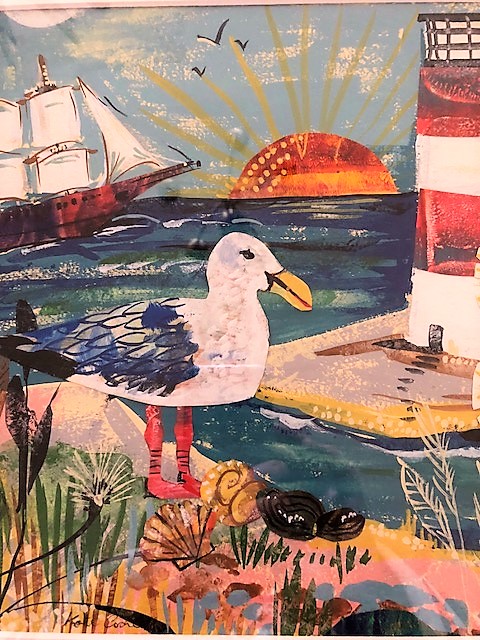
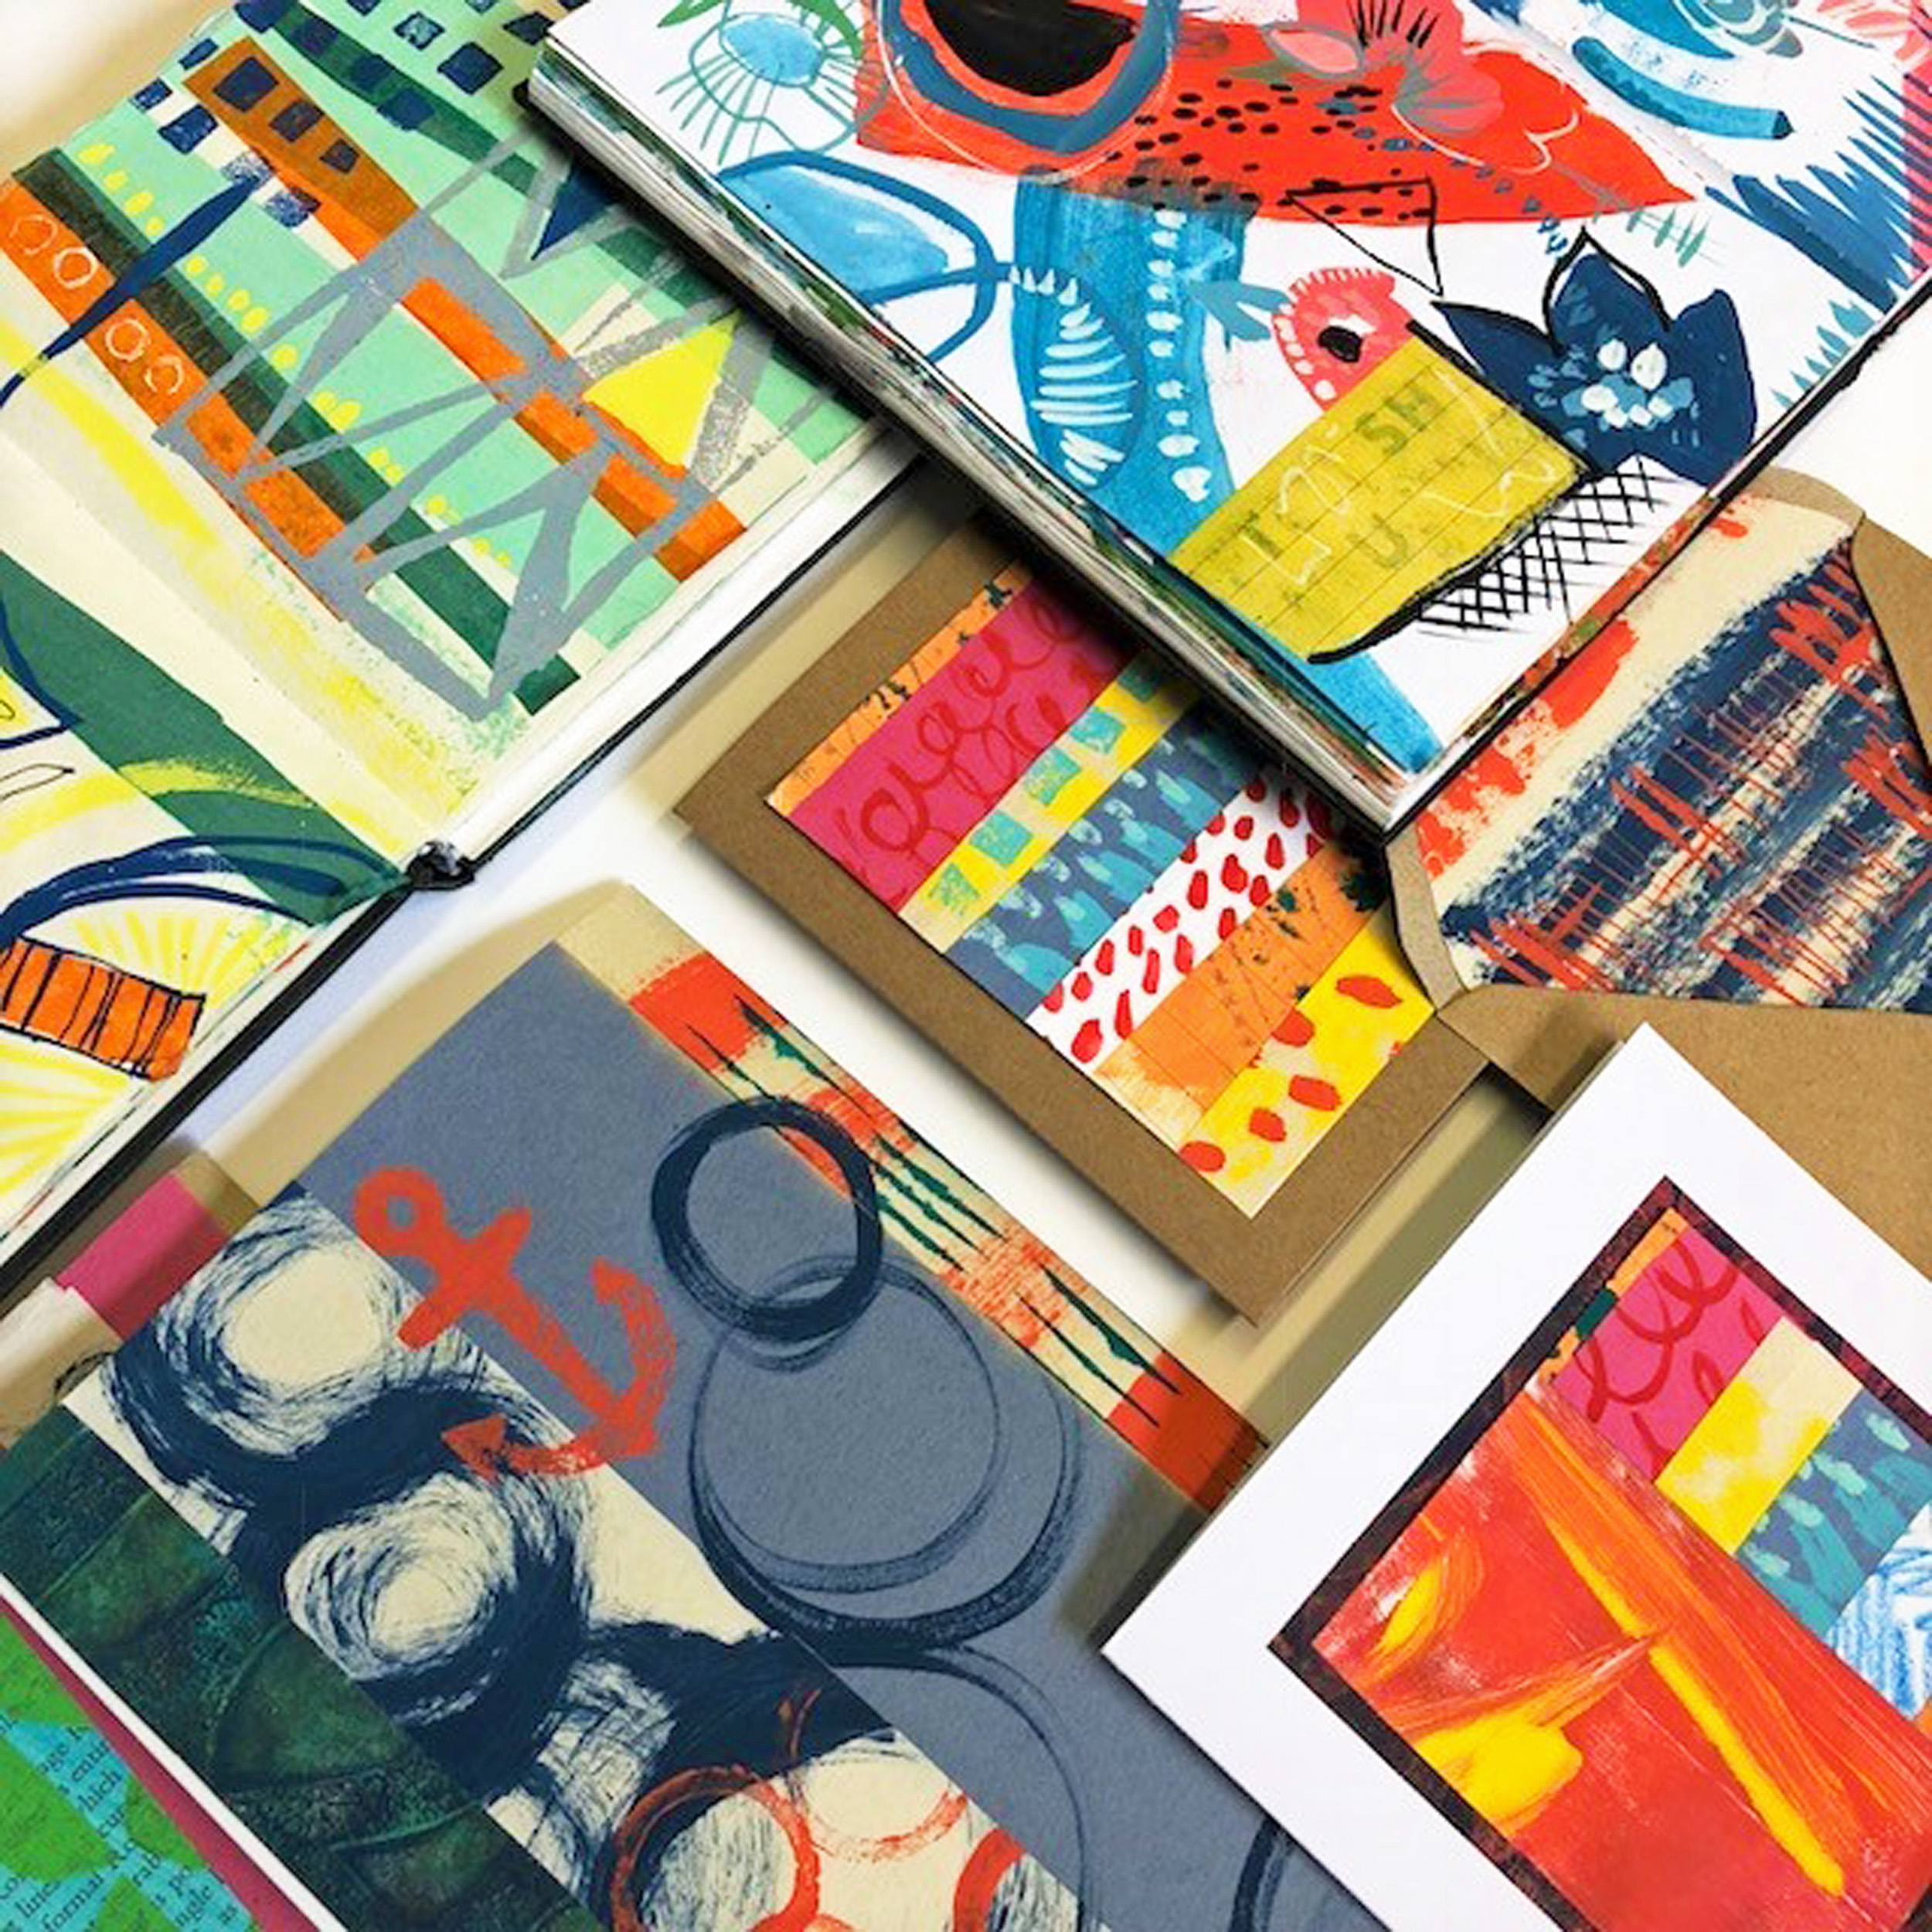
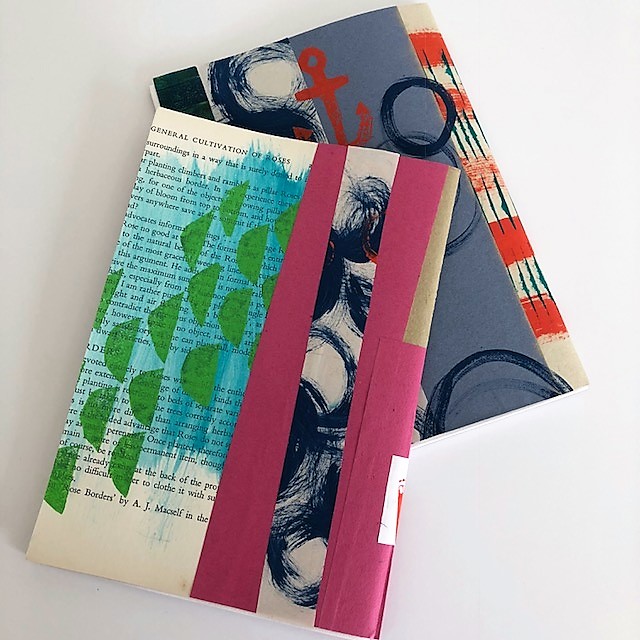
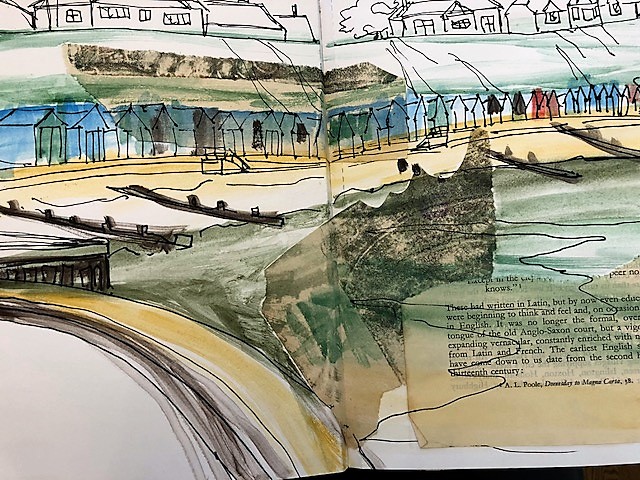
Once you have lots of decorated paper its the next stage and out comes the scissors and glue stick as well as my ideas for what to collage. There’s lots of playing about with composition, scale, imagery, layering and colour schemes, some of it in sketchbooks and some on paper. It might be a bit of wall art, this week Kate did a tropical parrot, something about the feathers seems to lend itself to collage, she also used a couple of cheap card bound sketch book’s, took the covers off them and collaged those, we also did greeting cards and envelope liners which look great.

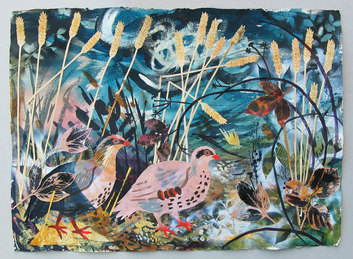
There are a few books we’ve found that are great for inspiration, Creative Collage by Clare Youngs, its full of project ideas so great if you want to do more than just a picture and if you want to look at one of the masters of collage then get Mark Hearld’s Work book, he produces amazing mixed media pictures, mainly of wild life and the country side, you can’t fail to be inspired by him!
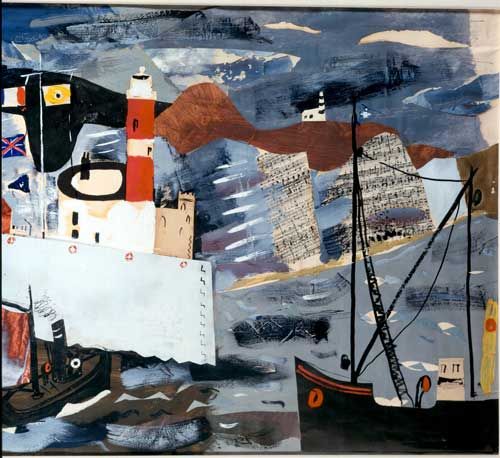
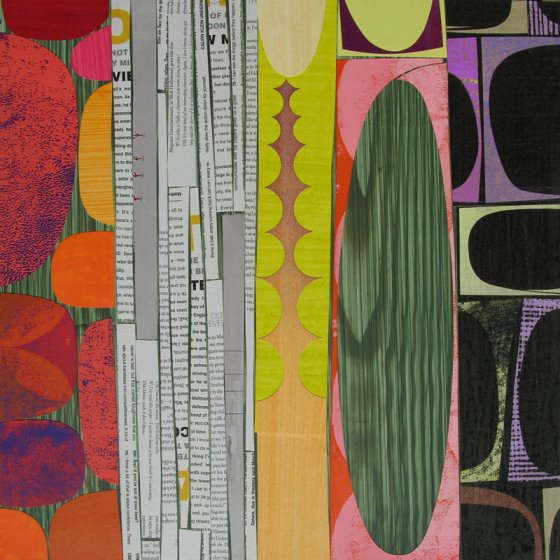
Some other collage artists to look at are Karen Stamper, Shirley Trevena, John Piper, Mike Bernard and Rex Ray, all can be found on that great image source- Pinterest.

So now to put the Port and lemon collage teaching skills to work and provide the materials and advice for the up and coming workshops. Our 2 hour, 4 week creative collage courses start in September so come and join us and you too can get stuck into decorating, printing, cutting, sticking and creative fiddling!